How to print with Mac OS
Quick Links:
» Preparations
» Open Cloud Printer
» Printing Files
» Manage Cloud Printer
» Preparations
» Open Cloud Printer
» Printing Files
» Manage Cloud Printer
Before you start, please ensure that:
1. ThinPrint Cloud Printer Connector is installed on your computer
To use ThinPrint Cloud Printer for Mac OS, download the ThinPrint Cloud Printer Connector. Make sure that your printer is connected to this Mac.
2. Your computer is turned on during printing
Please note that the Cloud Printer Connector automatically chooses your default printer as the Cloud Printer. If you want to change these settings, please select a different default printer via your computer’s system settings.
3. ThinPrint Cloud Printer is installed on your Mac
Download the Cloud Printer and install it. After successful installation, you can find the software in the main menu of your Mac.
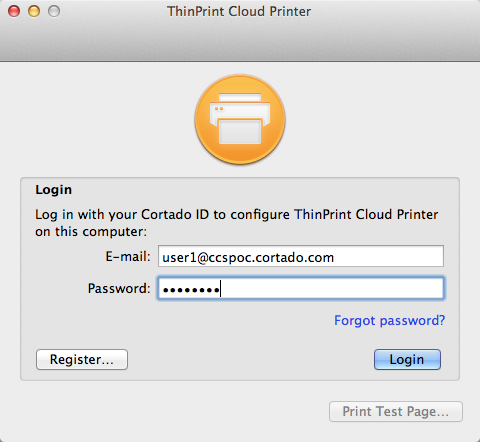
After successful installation, you can find Cloud Printer in the main menu of your Mac. Open the program and login one-time. If you don’t already have an account, click on REGISTER at lower left.
After successfully logging in, the button MANAGE ACCOUNT now appears in the lower left of the window. Click on this button to manage your account. Among others you can change your password, book premium services or access the online help here.
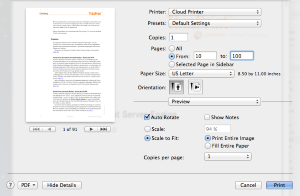
Open the file you wish to print.
Click PRINT and select CLOUD PRINTER in the print dialog.
The printing process will start automatically.

You can manage Cloud Printer in the menu. You have the following options: